
Shop Front Awning Installation Process
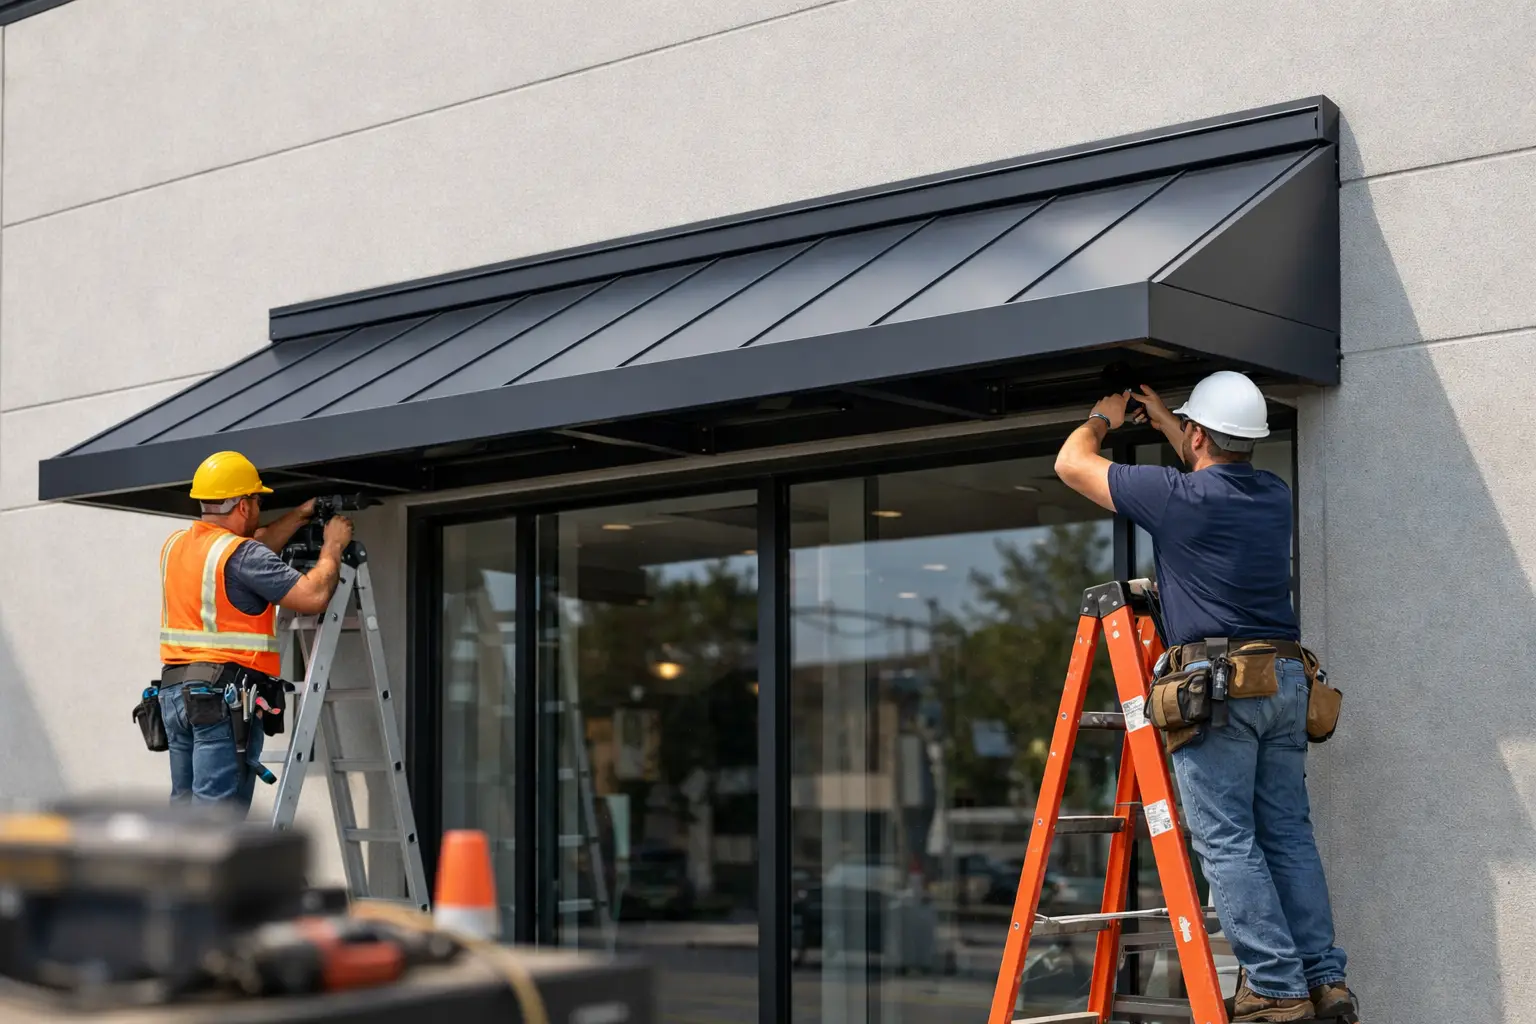
A shopfront awning can look simple from the street, but the shop front awning installation process is rarely a quick bolt-on job. On a live commercial site, every step has to account for structure, public safety, weather exposure, access, approvals and the day-to-day reality of people walking past your premises. If any of that is missed, the finished awning might still look fine for a while, but problems usually show up later in movement, leaks, poor drainage or compliance issues.
For shop owners, landlords and builders, that is why it helps to know what actually happens before the frame goes up. A proper installation is not just about fabricating metal and fixing it in place. It starts much earlier, with site checks, design decisions, engineering and planning around how the frontage is used.
What the shop front awning installation process usually involves
Most commercial awning jobs follow the same broad path, but no two frontages are exactly alike. The age of the building, the existing structure, the width of the footpath, council conditions, signage needs and neighbouring tenancies all affect the method.
In practical terms, the process usually begins with an on-site inspection and quote. This is where the installer looks at the current awning, if there is one, checks fixing points, measures the frontage, identifies access issues and gets a clear read on what the client needs. For some sites, that is straightforward. For others, especially older buildings or damaged awnings, there may be hidden issues that need to be allowed for before pricing is locked in.
From there, the job moves into scope confirmation. That means working out whether the awning is a new installation, a replacement, a partial rebuild or part of a larger shopfront upgrade. It also means confirming finishes, drainage, fascia details, lighting provisions and how the awning ties into the building face. Getting this clear early saves arguments and variation costs later.
Site inspection, measurements and early checks
The first site visit carries more weight than many clients expect. Measurements are obvious, but the real value is in understanding the structure behind the façade. A contractor needs to know what the awning will be fixed to, what loads the wall or slab can take and whether there is any deterioration in existing steel, concrete or brickwork.
This is also where practical site risks are picked up. Busy retail strips, food venues, loading zones and shared access points all change how the work is staged. If the frontage sits on a narrow pedestrian path or in a high-traffic area, temporary protection, traffic control or after-hours work may be the safer option. That affects program and cost, but it is better dealt with upfront than halfway through the install.
Older awnings often add another layer. If an existing structure needs to come down first, demolition has to be handled carefully. There may be corroded steel, damaged sheeting, old wiring or unstable sections that are not safe to leave hanging while new work starts. A clean replacement job often depends on careful strip-out, not just the new build.
Design, engineering and approvals
Once the site has been assessed, the awning design needs to be resolved properly. For simple jobs, this can be fairly direct. For larger or more exposed awnings, engineering input becomes critical. The structure has to suit wind loads, span requirements, drainage falls and the building it is attached to.
This is one area where shortcuts cost people later. A shopfront awning is exposed to weather year-round, and even a small design mistake can lead to sagging, ponding water or movement at the fixings. Engineer certification is often part of doing the job properly, particularly where the awning is substantial or where compliance needs to be documented for the owner, builder or property manager.
Approvals depend on the site and the scope of work. Some projects require more formal documentation than others. If the awning changes the street-facing structure, signage arrangement or building presentation, there may be council or building approval considerations to address before installation starts. It depends on the job, but experienced contractors know not to leave that question until the steel is already in fabrication.
Fabrication and materials
After the scope is confirmed, the awning components are fabricated to suit the approved dimensions and structural requirements. This usually includes the steel frame, brackets, fascia sections and roof sheeting or cladding. Material choice matters here, not just for appearance but for lifespan and maintenance.
For many commercial sites, durability is the key issue. The awning needs to handle sun, rain, dirt and ongoing street exposure without becoming a maintenance headache. Galvanised and properly coated steel, suitable roof sheeting and solid flashings all play a part. Cheap finishes can look acceptable on day one and still age badly within a short period.
There is also a balance between appearance and practicality. A slim, clean fascia may suit the frontage visually, but it still has to allow for drainage, signage integration and service access if lighting or wiring is involved. Good fabrication is not only about workshop accuracy. It is about building something that can actually be installed cleanly on the real site.
Preparing the site for installation
Before the new awning goes up, the site needs to be made safe and ready. If demolition is part of the job, the old structure is removed first under controlled conditions. That can include isolating services, setting exclusion zones, erecting overhead protection and organising equipment access.
For active businesses, staging matters. Some clients can shut the frontage for a period. Others need to keep trading while the works happen. In those cases, the installation plan may need to be broken into sections or scheduled around operating hours. There is no universal answer here. The right approach depends on the tenancy, the street conditions and the level of risk.
At this stage, the fixing points are also prepared. Any damaged substrate may need repair before the new frame can be secured. If the original structure was poorly installed or has deteriorated over time, that needs to be dealt with properly. New awnings should not be fixed over old problems and hoped for the best.
Installing the awning frame and roof
The main installation stage usually starts with setting out and fixing the structural frame. Accuracy matters because any error at this point carries through to the fascia, sheeting and final visual line. On a street-facing frontage, even small alignment issues are easy to spot from the road.
Once the frame is in place, the roof sheeting or cladding is installed along with flashings, gutters or other drainage details. Water management is one of the most overlooked parts of the job from a client point of view, but it is one of the most important. If rainwater is not directed properly, it can end up staining the frontage, dripping onto pedestrians or finding its way back into the building line.
This part of the shop front awning installation process also needs close attention to finish quality. A commercial awning is structural, but it is also one of the first things customers see. Fixings, joins, fascia lines and sheeting edges all need to be neat. A rough finish can make an entire shopfront look second-rate, even if the business inside is well run.
Finishing works, compliance and handover
After the main structure is installed, the final works bring the project together. This can include capping, sealants, painting touch-ups, signage provisions and making sure all edges and visible elements are finished cleanly. If lighting or other services are part of the awning, coordination with other trades may also be required before the job is signed off.
The final inspection checks both presentation and performance. The installer should confirm the awning is secure, straight, weather-ready and compliant with the agreed scope. Where engineering or certification applies, that documentation should be finalised as part of handover rather than chased weeks later.
For clients, this is the point where a professional contractor stands out. It is not just about getting off site. It is about leaving the frontage safe, presentable and ready for use, with rubbish removed and no loose ends left behind.
What can slow the process down
Even well-managed projects can hit delays. Weather is one obvious factor, especially when lifting steel or working on exposed frontages. Hidden structural issues are another. If opening up the old awning reveals damaged supports or non-compliant previous work, the safest path is to address it before the new installation continues.
Lead times can also affect timing, particularly if custom steelwork, cladding colours or engineered revisions are involved. The best way to reduce delays is simple - get a clear scope, allow for proper inspection and work with a contractor who understands commercial frontage jobs from demolition through to final install.
A good awning should do more than cover the footpath. It should suit the building, handle the weather, present well to the street and stand up over time. If the process is handled properly from the start, you are far less likely to deal with expensive fixes later, and that is usually where the real value sits.