Awning Installer Workmanship Review Criteria
A shop front awning can look finished from the street while hiding poor fixings, weak drainage or rushed flashing work overhead. That is why awning installer workmanship review criteria should be applied before the final invoice is paid, not months later when water starts tracking inside the tenancy or a fitting works loose.
For commercial property owners, builders and business operators, the review is not about finding cosmetic faults for the sake of it. It is a practical check that the awning has been installed safely, matches the approved scope, protects the premises and presents properly to customers. On a busy frontage, it also confirms the contractor has left the public area safe and the site ready for trade.
Start with the agreed scope, not the finished appearance
A fair workmanship review begins with the quote, drawings and any approved variations. Compare what was supplied with what was promised: the awning size and profile, roof sheeting or fabric, fascia, guttering, flashings, supports, signage allowances and finishing details.
A minor visual difference may be acceptable where a site condition required a sensible adjustment. A contractor may need to alter a flashing detail around existing brickwork, services or an uneven façade. That change should be explained and recorded. What should not be accepted is an unapproved substitution of materials, missing components or a reduced fixing arrangement simply because it was easier on site.
If engineer-certified drawings apply to the job, check that the installed support positions, member sizes and connection details reflect those drawings. Installation crews should not make structural changes without the right approval. This is particularly relevant for large shop awnings, replacement structures and sites exposed to strong wind.
Awning installer workmanship review criteria for safety
Safety is the first test because an awning sits over staff, customers and the public. A neat fascia does not make up for a poorly secured structure.
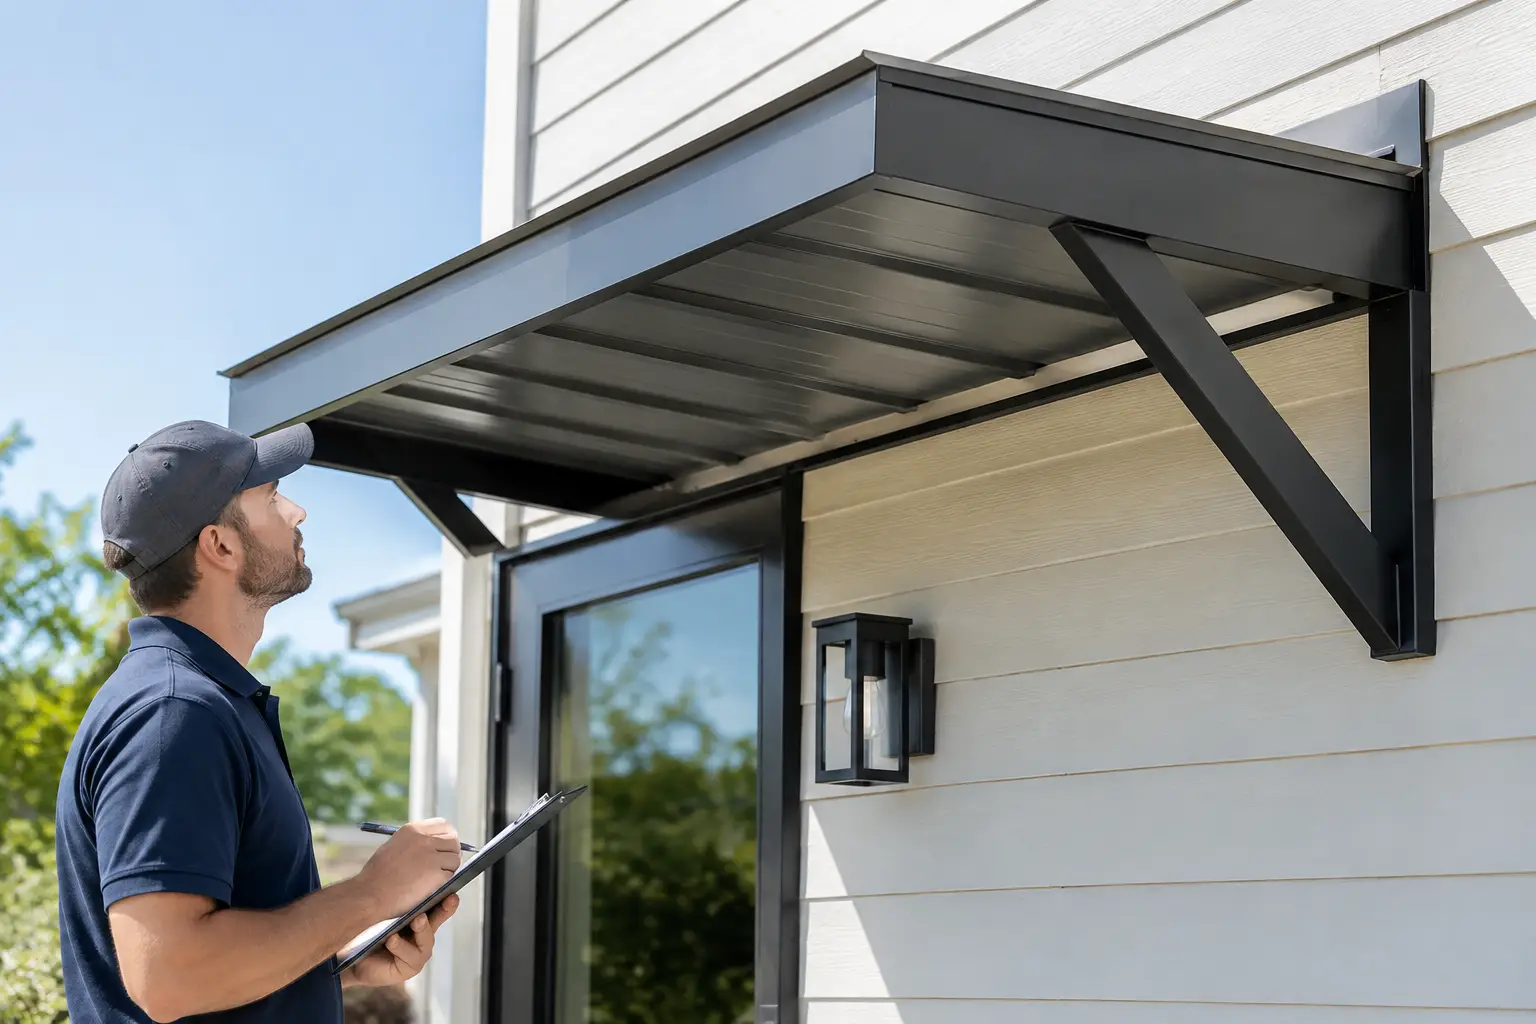
Look closely at the connections to the building and the supporting framework. Bolts, anchors, brackets and welded joints should be appropriate for the substrate and positioned as specified. Connections should be secure, consistent and free from obvious damage, excessive gaps or makeshift packing. Where fixings are visible, they should be straight and properly finished rather than randomly spaced or over-tightened into distorted sheet metal.
Welds should appear continuous where a continuous weld is required, with clean preparation and no obvious cracking, porosity or sharp protrusions. Paint or protective coatings should cover treated steel properly, especially at cut edges, weld areas and exposed connections. Bare steel at these points can become a corrosion problem sooner than clients expect.
Clearance also matters. The awning must not interfere with doors, windows, security shutters, signage, services or pedestrian movement. Check the underside for sharp edges, loose rivets, exposed fasteners and low points that could create a hazard. On a street-facing premises, a safe installation includes a safe footpath and work area during and after the job.
Check water management before the first heavy rain
Most avoidable awning complaints involve water. A roof can be watertight on installation day yet fail when wind-driven rain tests the junction between the awning and the building.
The fall of the awning should direct water towards the intended gutter, not back to the wall. Gutters need a clear path to outlets and downpipes, with brackets and joins properly secured. A small amount of water remaining after rain may occur on some low-pitch roof profiles, but standing water that persists, overflows at the fascia or runs behind the structure needs attention.
Pay close attention to flashing. It should be neatly dressed, securely fixed and sealed where required, with enough coverage to shed water from the wall connection. Sealant is useful as part of a proper detail, but it is not a substitute for correctly lapped flashing. Heavy reliance on thick, visible sealant can be a warning that the underlying fit is poor.
On an existing building, the result depends partly on the condition of the wall and previous alterations. A contractor cannot always guarantee adjoining cracked render, failed roof membranes or ageing masonry. They should, however, identify these risks early and explain what sits inside and outside their scope.
Assess alignment, finish and street presentation
Commercial awnings are part weather protection, part public face of the premises. The finish should look deliberate from both the footpath and the doorway.
Stand back across the street if safe to do so. The fascia line should look level, the roof edge should run straight, and posts or brackets should be evenly positioned. Then inspect closer. Sheet laps should be consistent, trims should sit firmly, and corners should be cleanly finished. Minor variation can occur on older buildings with uneven walls, but the installer should use sensible detailing to avoid an obviously crooked result.
Check that colours, coatings and materials match the approved selection. Scratches, dents, swarf, adhesive residue and overspray should be rectified before handover. Protective film left behind on cladding or fascia is not a finished job. Neither is debris left in gutters, on the roof or around the entry.
If signs, lights or electrical services connect to the awning, review the interfaces carefully. Penetrations should be sealed, cables should be protected and the work should not compromise the awning’s drainage or structural components. Electrical work must be handled by the appropriate licensed trade, not improvised as part of a general installation.
Review the site condition and public safety controls
Good workmanship includes how the job is delivered. A commercial awning project often takes place above an active entry, outdoor dining area or public footpath. The contractor should manage access, exclusion zones, overhead work and removal of old materials with care.
At completion, the site should be clean, accessible and free of leftover screws, sharp offcuts, packaging and rubbish. Existing surfaces should be checked for avoidable damage. If demolition or removal was included, confirm that redundant framing, old fixings and unsafe loose material have been removed or made safe as agreed.
This is also the time to raise any damage concerns. Take clear photos and discuss them promptly while the team, equipment and records are still available. Fair contractors will address genuine workmanship issues directly rather than leaving clients to chase an answer after the site has been packed down.
Ask for the records that support the work
The right paperwork depends on the size and nature of the project, but a proper handover should not be vague. Keep the accepted quote, variations, drawings and material details with the property file. For work involving engineering, request the relevant certification or documentation stipulated for the job. For waterproofing, roofing, electrical or other specialist work, retain applicable warranties, compliance information and trade certificates.
It is also worth confirming the defects process in writing. Ask who to contact, what is covered, and how a fault will be assessed if one appears after handover. A workmanship warranty does not cover damage from vehicle impact, storm events beyond design conditions, building movement or neglect, but it should cover defects in the contractor’s own installation work.
A practical handover checklist
Before signing off, walk the job with the installer and record any agreed touch-ups. Your review should cover these distinct areas:
- The awning matches the approved quote, drawings and agreed variations.
- Structural supports, brackets, fixings and welds appear secure, protected and professionally finished.
- Roof falls, gutters, outlets and flashings direct water away as intended.
- Fascia, sheeting, trims and coatings are straight, clean and free of obvious defects.
- The entry, footpath and surrounding work area are clean, safe and free from leftover material.
- Required certificates, warranties and project records have been provided or scheduled for delivery.
Do not confuse a short defects list with a failed project. Small paint touch-ups, a sealant clean-up or a minor trim adjustment can be normal handover items. The key question is whether the contractor responds quickly, records the issue and completes the correction to the same standard as the main work.
A good awning installer will welcome a clear final inspection. It protects the client, gives both parties a defined handover point and helps ensure the awning performs properly through Sydney’s rain, wind and daily foot traffic. If something does not look right, raise it before final payment and ask for a practical explanation and a clear remedy.